Quality landscape materials delivered right to your door

From natural hardwood to designer colored options. We offer premium mulches ideal for flower beds, landscaping, and protecting plantings.
Explore Mulches →

Screened topsoil blends, nutrient-rich compost, and garden soil mixes. Perfect for new plantings, gardens, and landscaping projects.
View Soils →

Durable gravel options for driveways, pathways, and landscaping. Including #57, pea gravel, and crushed stone for every need.
View Gravels →

Premium NC long needle and wheat straw options. Lightweight and ideal for acid-loving plants and erosion control.
View Pine Straw →
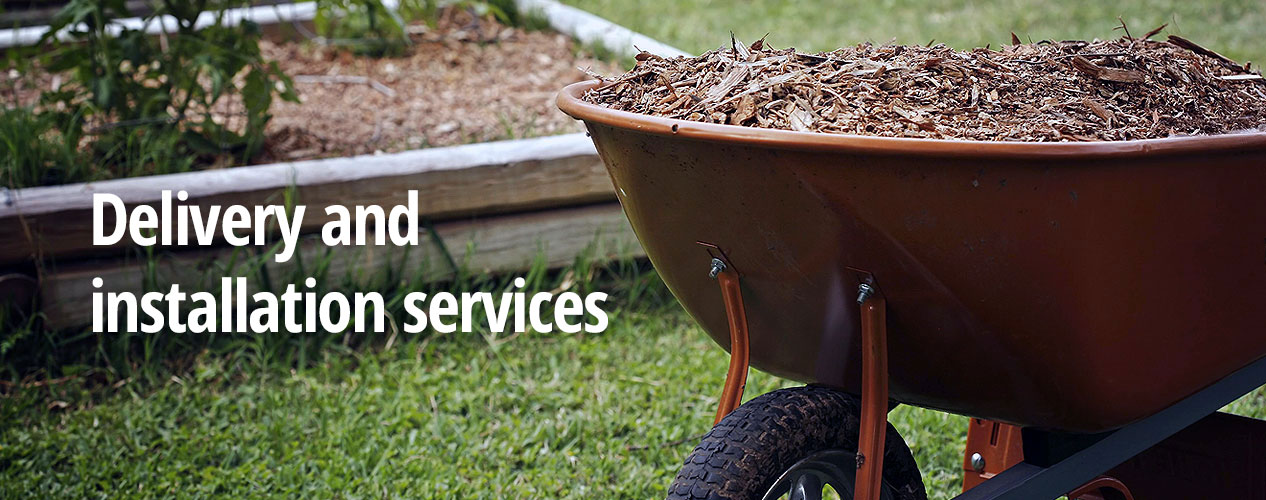
Professional wheelbarrow installation available for all products. Let our experienced subcontractors handle the hard work!
Learn More →
View Pricing & Delivery
Check out our complete pricing and delivery options for the greater Raleigh and Wake Forest areas.
Go to Order Form →
• No Additional Delivery Fees!
• $5.00 per loaded mile
• $10.00 per loaded mile

Rich Trahin, Owner / Operator
 Use a square shovel (i.e. a square transfer shovel) and insert the blade vertically along the edge between the garden bed and the grass to form a crisp line between the two. Form a narrow trench 3-4 inches wide and 2 inches deep.


Providing quality mulch, topsoil, gravel, sand, & installation services to the greater Raleigh and Wake Forest, NC areas since 2008.
Copyright © 2025 Capital Mulch Company
All Rights Reserved
Raleigh, NC | 919-845-2974
Website by RT Designs